Unboxing the Mosaic 3D Printer
June 2nd, 2012
Projects
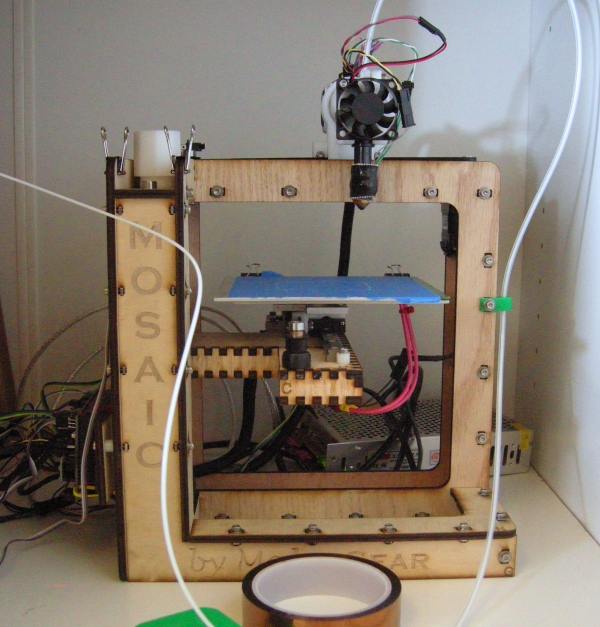
The MakerGear Mosaic is one of many DIY 3d printers available. A lot of 3d printers are at the sub-$1000 mark now, making them very affordable for hobbyists like myself. The big name in 3d printing is the MakerBot, but the print size was too small for me so I went with the Mosaic.
Full gallery with high-resolution photos here.
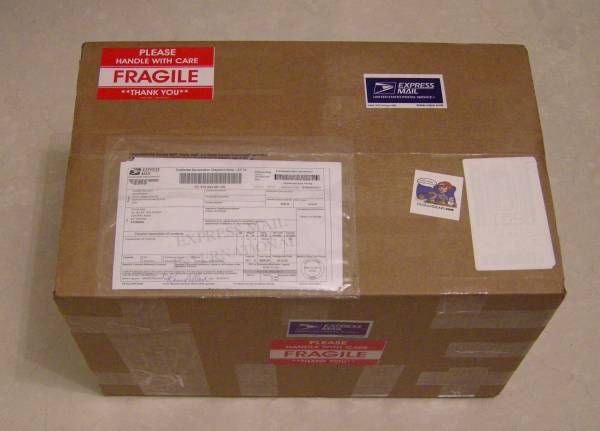
Shipping box. Very expensive postage because I am not in the US.
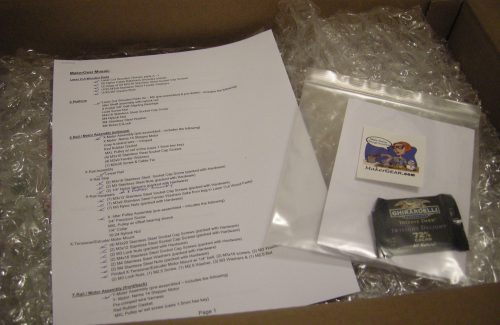
Packing list and invoice. She even handwrote a message and included chocolate :). Very nice.
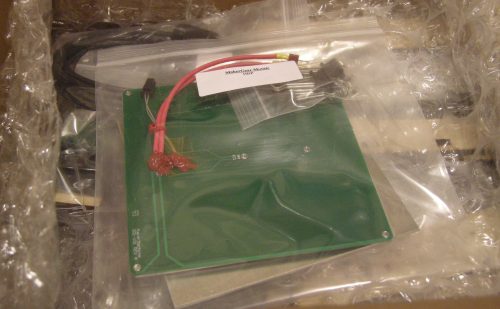
Heated build platform. The heater board is secured between two aluminum plates with binder clips.
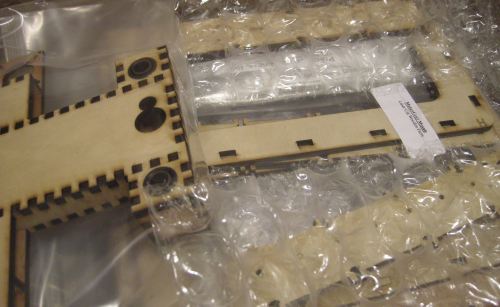
Laser cut parts. The z-assembly is preassembled with linear bearings and a nut for the leadscrew.
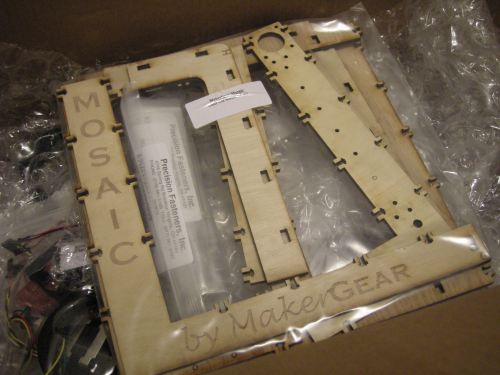
Laser cut frame. The frame uses M3 t-slots with square nuts. Assembling this took about half an hour.
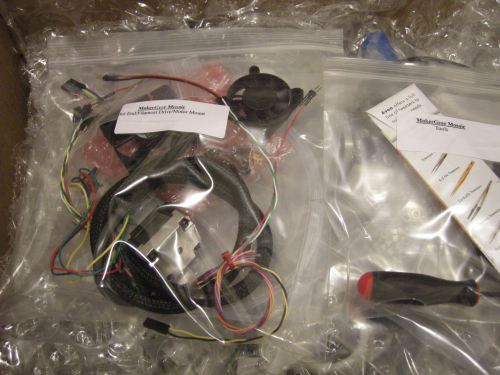
Hot end and the filament drive stepper. The hot end heats up to 180C for PLA and 230C for ABS plastic.
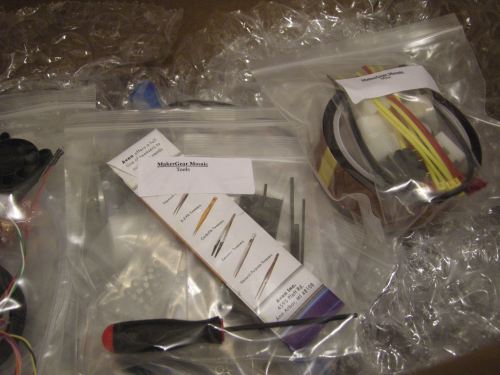
A set of tools and kapton tape. The allen key is for the M3 bolts, and the kapton tape is for printing with ABS.
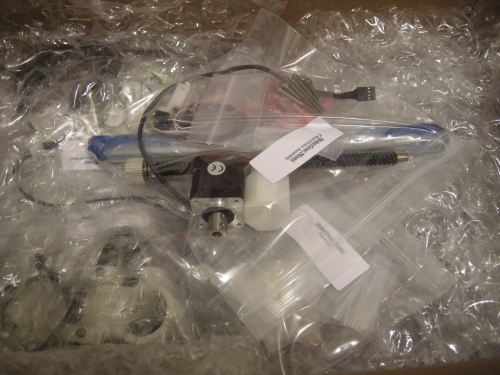
Z stepper and screw. The x and y axes are belt driven, and the Z is screw driven. The white thing in the bag is a 3d printed knob for manual z control.
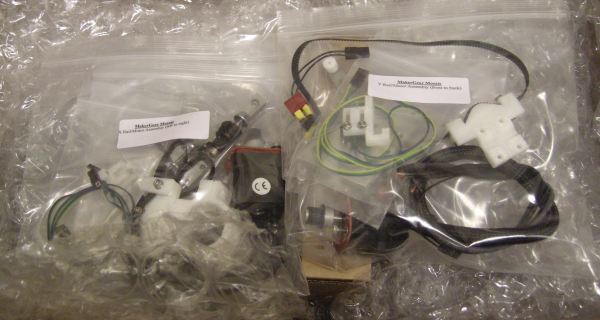
X and y assemblies and endstops. The endstops let the software know where to start printing.
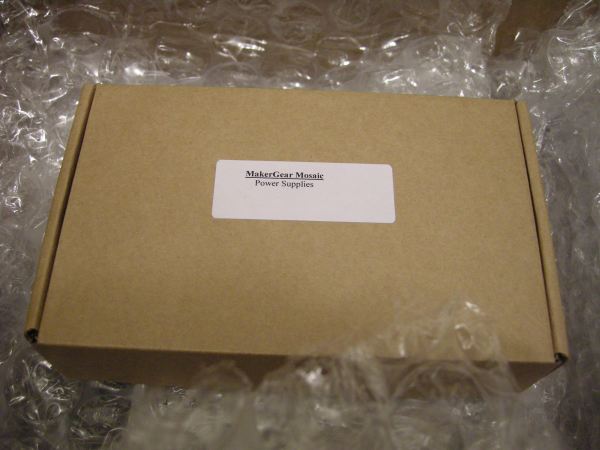
Power supplies. There is one 12V power supply for the fan, the extruder, and the motors, and another switch mode 24V supply for the heated build platform.
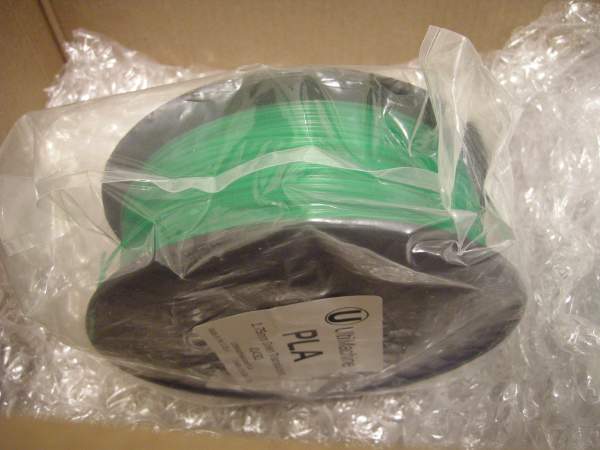
Included 1kg spool of PLA plastic from Ultimachine. PLA warps a lot less than ABS, so it is better to start printing with.